
Today there are plenty on video streaming services. Many of them have GEO restrictions. If you want to avoid such limits you can use a VPN (virtual private network). Today we are going to discuss how to setup vpn for NVIDIA Shield TV.
Use OpenVPN for your NVIDIA Shield TV
- Setup WiFi File Explorer Pro application to your Shield TV. This application acts as an FTP server for your Shield TV so you can connect to it through any web browser and transfer files.

Find it in the Shield TV’s Play Store and install. There’s also a free version, but it is limited to 50 uploads.
2. Fire WiFi File Explorer up on your Shield (or use whatever method you like to transfer files) .
3. Create a folder on the device to put your server profile(s) and the certificate in. Copy those over, and close the app by pressing back on your Shield TV remote.

4. Go back into Google Play on your Shield and search for the OpenVPN for Android app. \
5. OpenVPN for Android is free (awesome) so go ahead and install it.
6. Open the app. Don’t get freaked out by the ugly interface with a bunch of stuff you might not understand. All we’re going to do is “click” in a few places and use the files you transferred to automagically set everything up.

7. In the upper right corner of the app, you’ll see four icons. The box with the arrow is the import button and it’s the one we want. Click on it and in the file browser window that opens, find the VPN Server profile(s) you transferred over. Click on one of them. If you transferred more than one, you’ll need to do this for all of them individually.
It will start the import process and end with an error. That’s because it can’t find the certificate, but there’s nothing to worry about — we never told it where the certificate was. Click the button to let it finish importing and it will take you back to the main interface screen.
8. Now it’s time to point it to the certificate, so click the pencil icon for the entry on the right side. A window where you can choose the certificate and enter your VPN credentials will open.
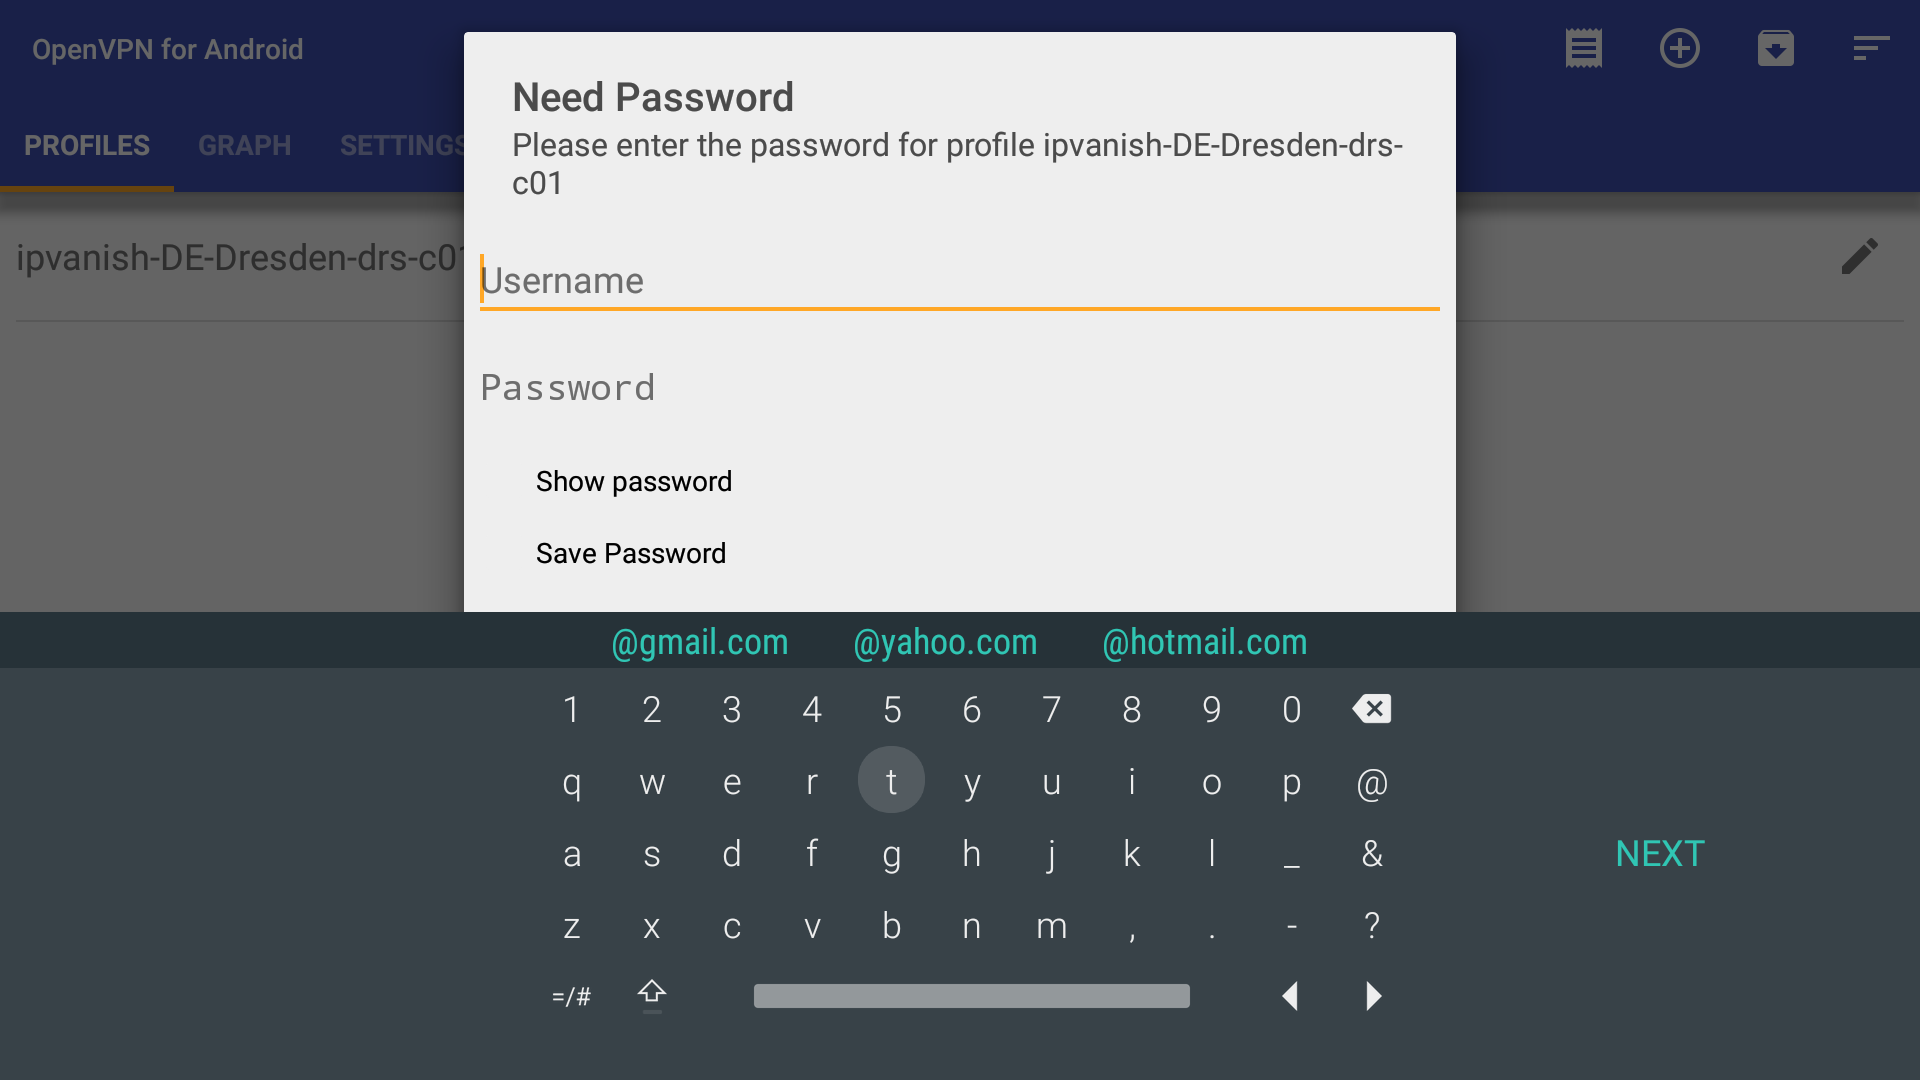
9. You’ll see a button marked Select on the right side of the screen. Click it and browse to the certificate you transferred earlier and choose it. Now the authentication certificate and server profile(s) are both set up and all you need to do is enter your VPN username and password.
10. You can enter those here, or leave them blank to enter them each time you start a VPN connection. You can ignore the other settings unless your VPN company has instructions for you to change them. It probably doesn’t.


Once you’re done on this tab, switch over to the Server list tab at the top of the screen. Click the entry you just set up and it will automatically connect. You’re now tunneling your traffic through your VPN server and your real IP address and location are hidden.
Besides getting around region locking, you’ll be able to stay private if you do anything where you’d like some privacy. Another bonus is that beacons, trackers, and all the other tricks companies like Facebook use to monitor everything you do online become useless data. Remember that your ISP can see you’re connected to a VPN, and the company running the VPN can monitor your connection, though.
When you are using Shield TV through a VPN, or installing apps you got from somewhere other than the Play Store app or even importing your own certificates of trust are simple and work as expected.